Per my blog post last week, I recently helped throw my mother's 60th birthday party. We were definitely on a bit of a budget, so we decided to try and DIY a photo booth - and I was pretty happy with the results. I thought I'd share how we did it for any of you wanted to roll up your sleeves and take on this project - the results were great and we were thrilled with how much fun it added to the party. I already owned an iPad, so we decided to not worry ourselves too much about super-high res images, and instead focused on the fun and ease of doing an iPad photo booth. My stepfather also already owned a tripod, so I bought a fairly simple (and cheap) iPad tripod attachment and voila! Our photo booth was already halfway there.
My sister did the hard part. We knew the venue would be dark, and the iPad doesn't have a flash, so rather than rent lights - she DIYed them. We used this video tutorial and they came out really well. My sister made some adjustments from the DIY tutorial. Since people were actually going to SEE these lights, she wanted to make them look a bit nicer. She took a little more time to cut the cardboard to the shape of the lampshade, to tape it with clear tape, to use white Velcro on a white lampshade with white fabric.....to make it look a little more presentable. All in all, each one took her no longer than 30 minutes or so to make. So with an hour's work, we'd saved a lot of money (my sister is the best).
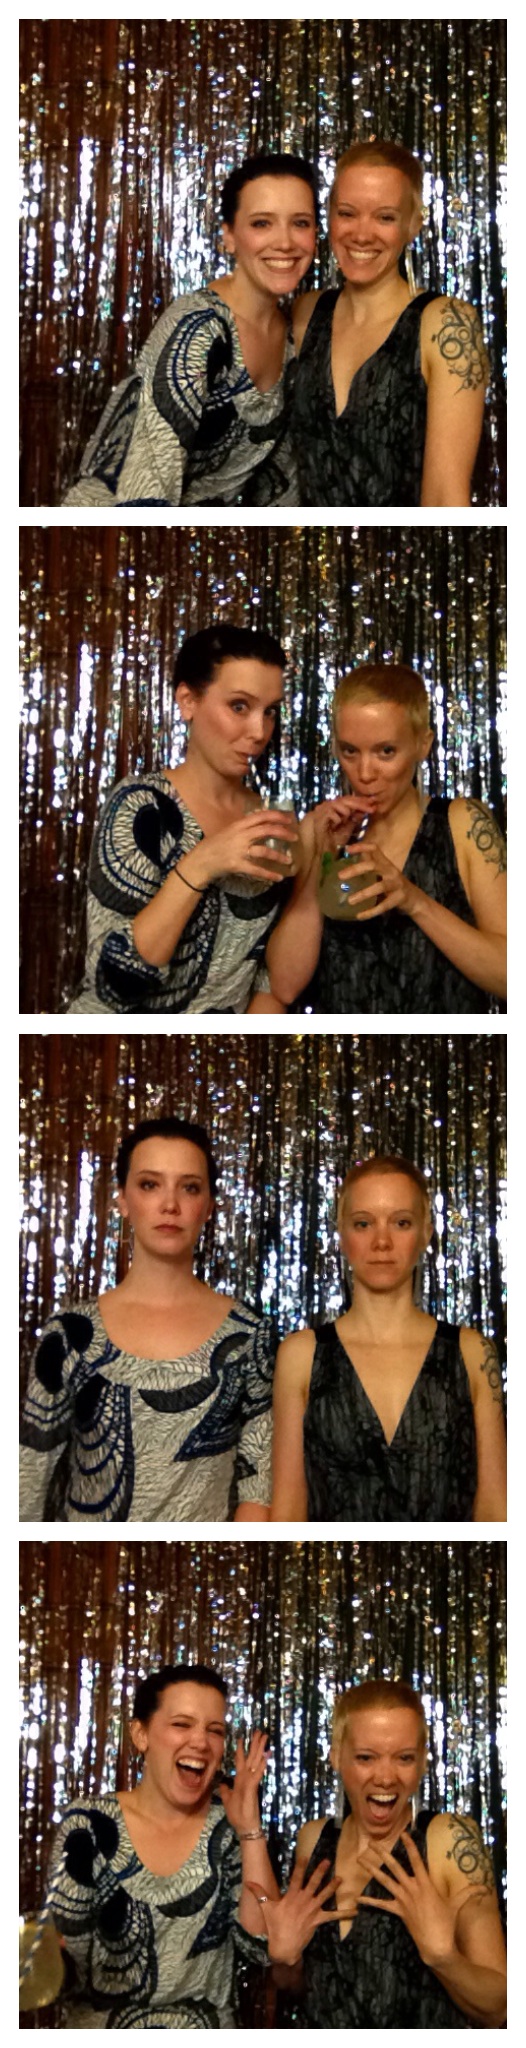
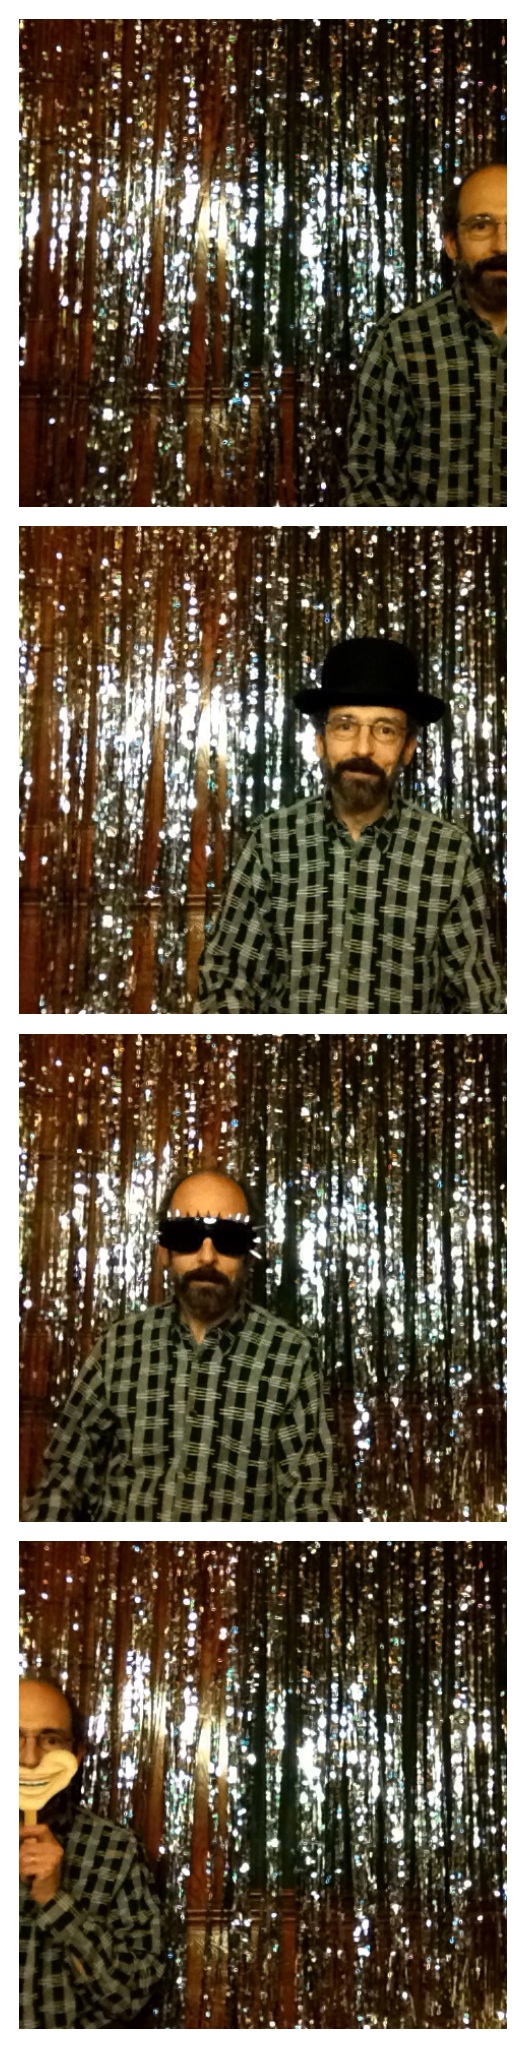
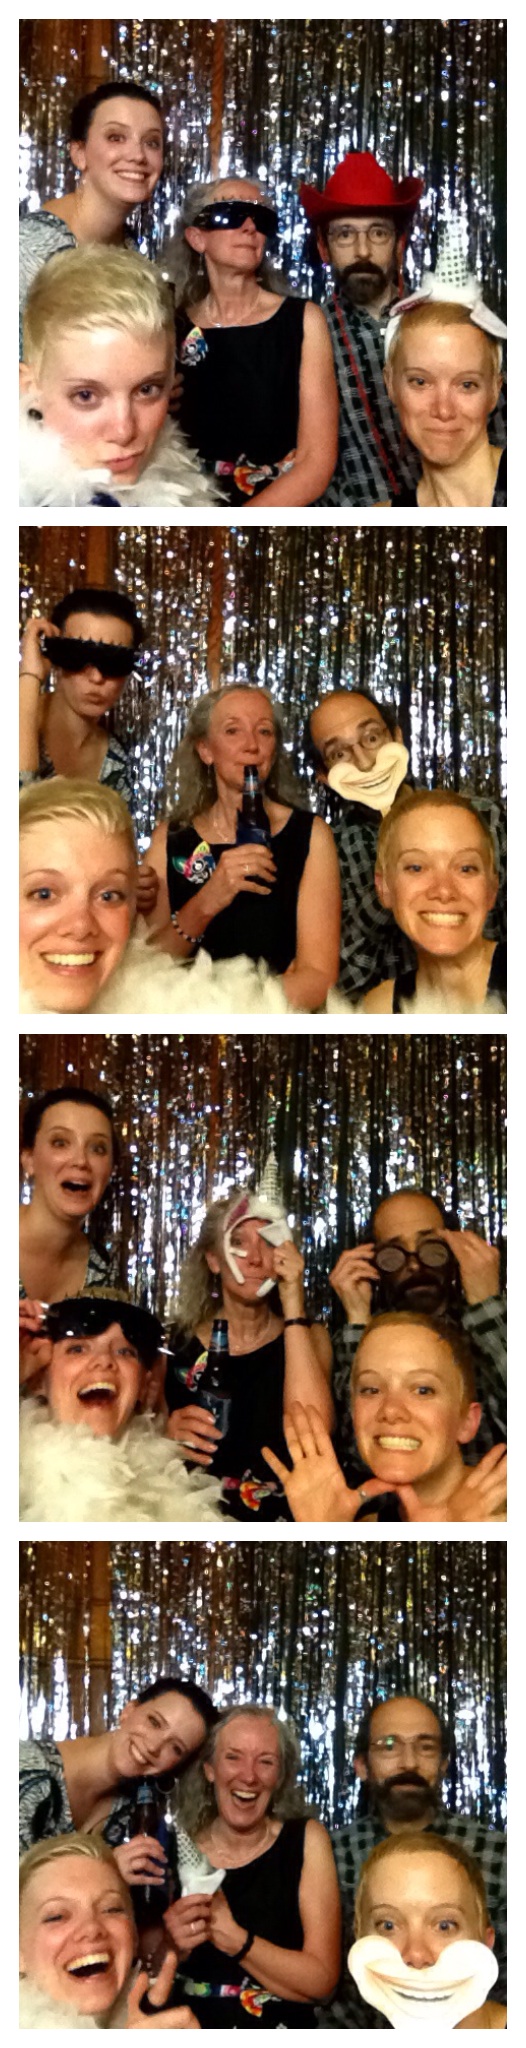
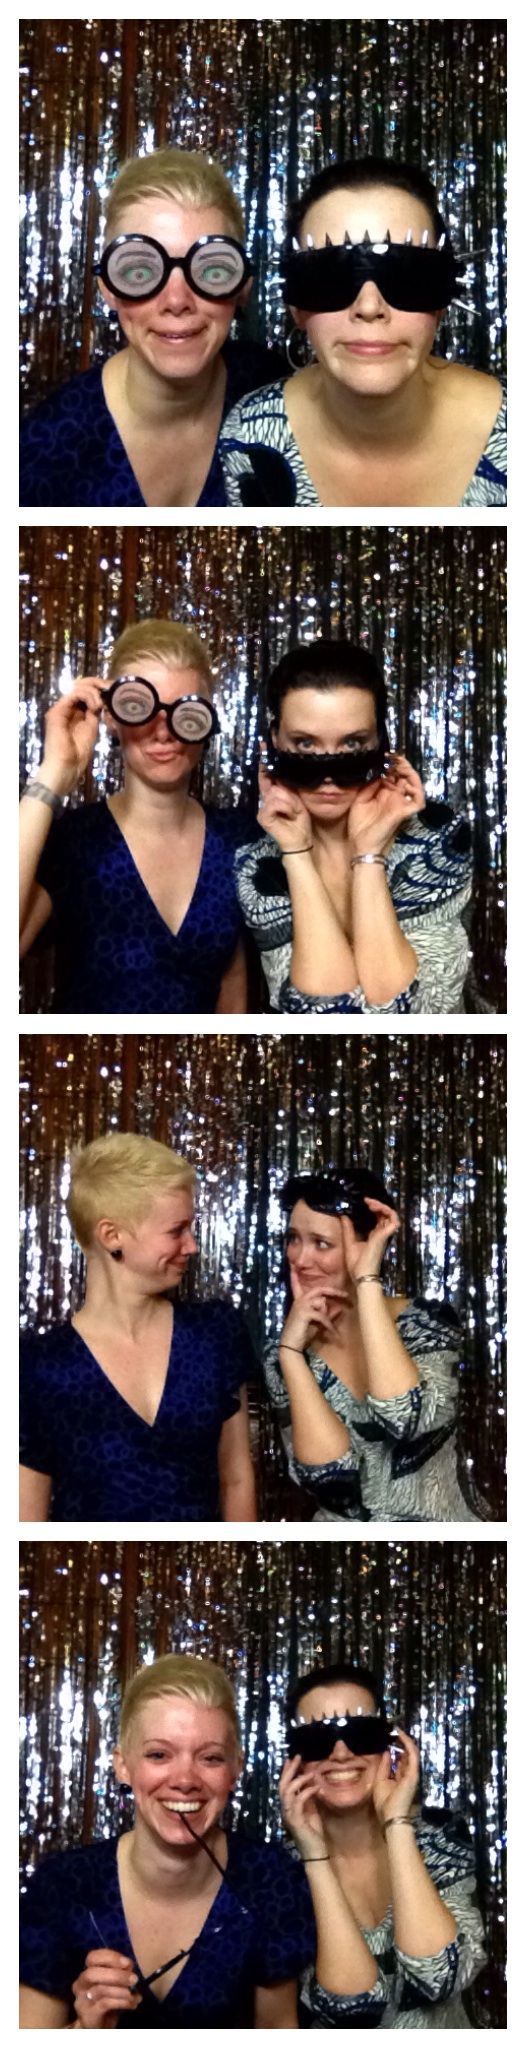
For the backdrop, the venue had a really ugly sign up that we wanted to cover anyway. So I bought some silver fringe curtains from Oriental Trading company and we wrapped it in the corner of the room - thus covering some of the ugliness while also creating a simple but very festive backdrop for the booth. Because the venue was an old train station, it already had built-in benches wrapping around the room, so we also used that and didn't need to worry about stools or other seating. I thought it turned out really well!

We pooled our own Halloween costumes and created our own bucket of props including oversized sunglasses, a feather boa, some hats and funny sunglasses. It was rad.
We used the Insta Booth app. You could pick how many photos were in each "strip" as well as the length of the timer between shots. You can also apply different filters (which we opted not to do) but they had a ton to choose from. The photos aren't super-high res. If you care about that, then this option probably isn't for you. But overall I found this to be a great, very cost-effective solution. With the iPad tripod attachment, the curtains and the light box materials, we ended up spending around $100 - much less than a $1,000 professional photo booth. And if you do it for a day-time party, or in a well-lit room, the light boxes shouldn't be needed.
The pictures were, in my opinion, pretty hilarious and awesome! Enjoy!