DIY

The "styled" issue

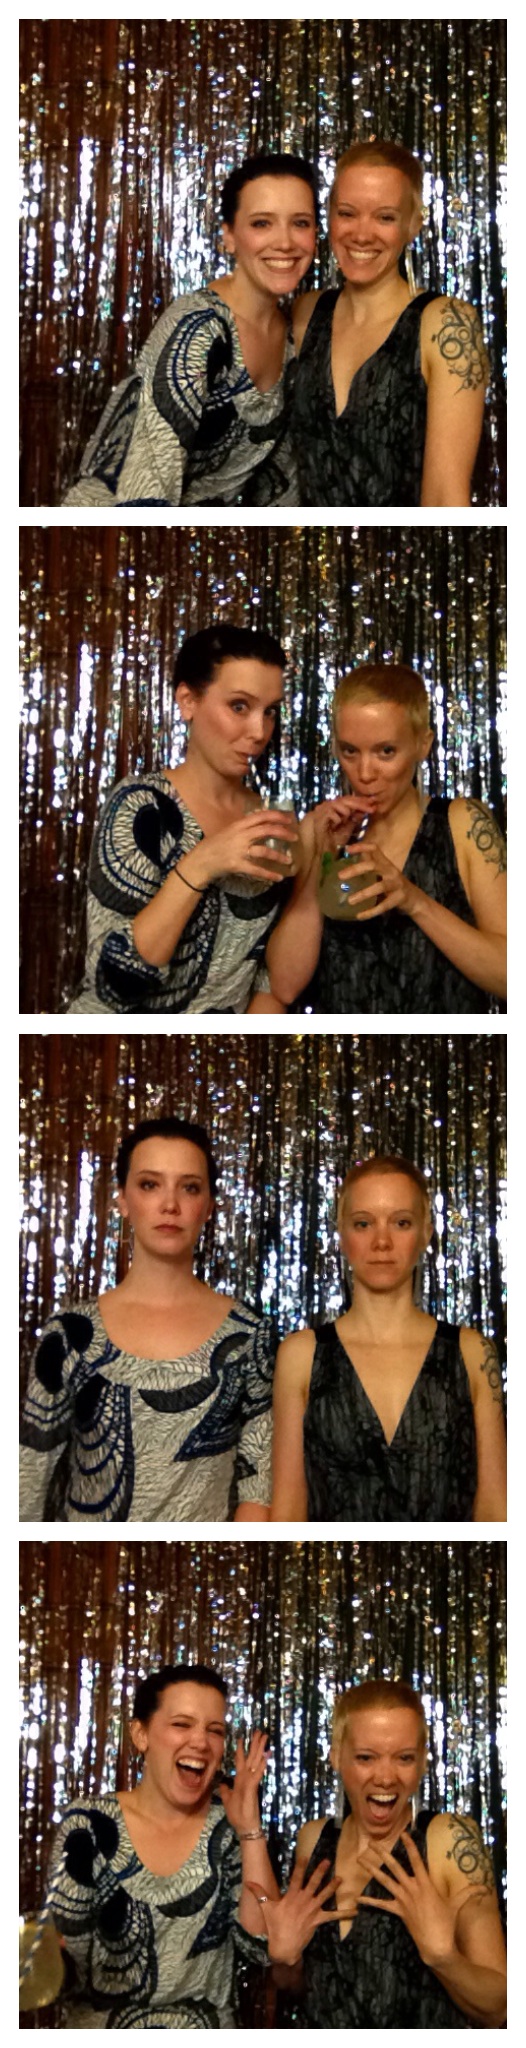
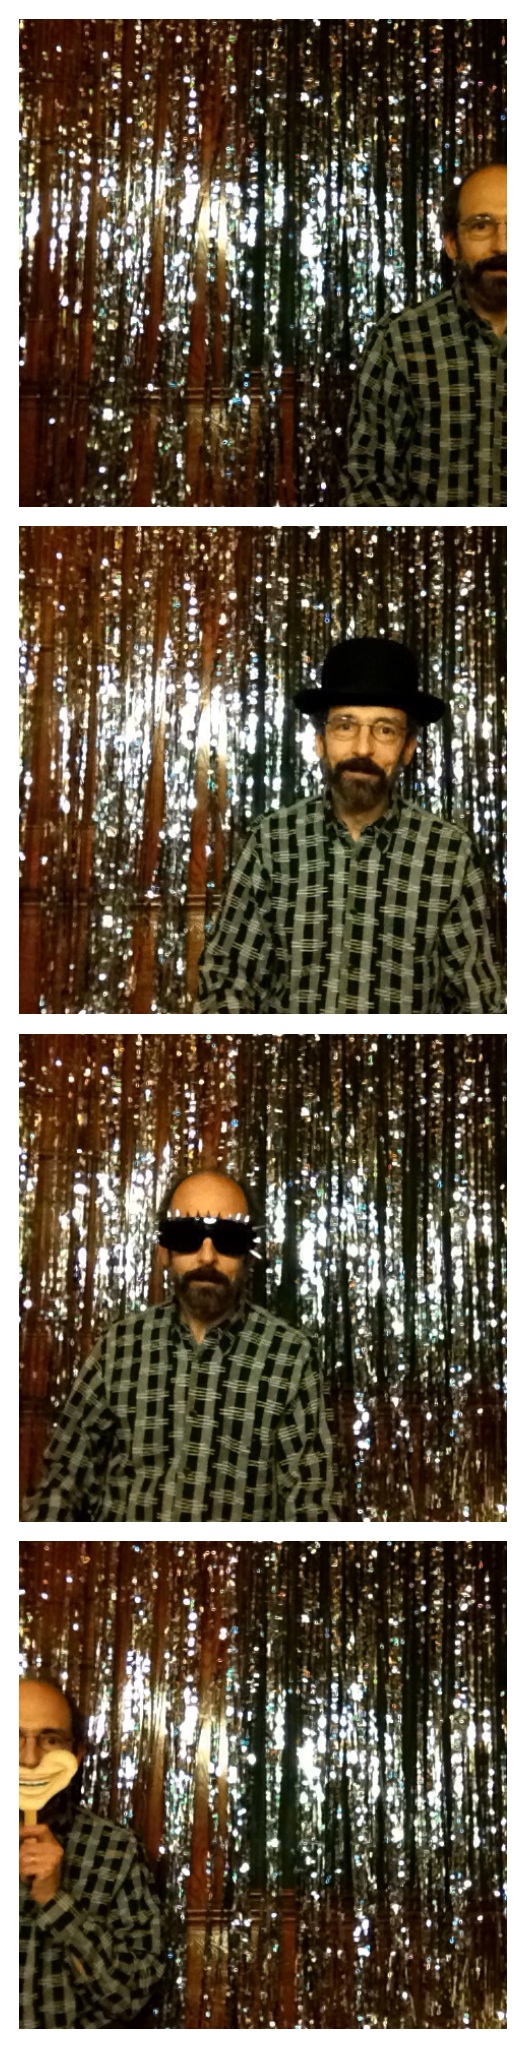
Photo by Amber Wilkie

I had a bit of a revelation the other day. A hosting revelation. An event epiphany, so to speak. I’ve been fairly vocal on my blog about trying to ease the pressure to be crafty, keeping things simple when it comes to party and wedding decor and DIY projects, and even sharing my own personal holiday and party decor to show that it can be easy and uncomplicated. However, I wasn’t sure where this desire to calm people the eff down about decor came from. Why was I so anti-decor and making tables and centerpieces and events look nice? I realized the other day that it’s about the motivation. It’s about staying true to WHY you want your table to look beautiful.

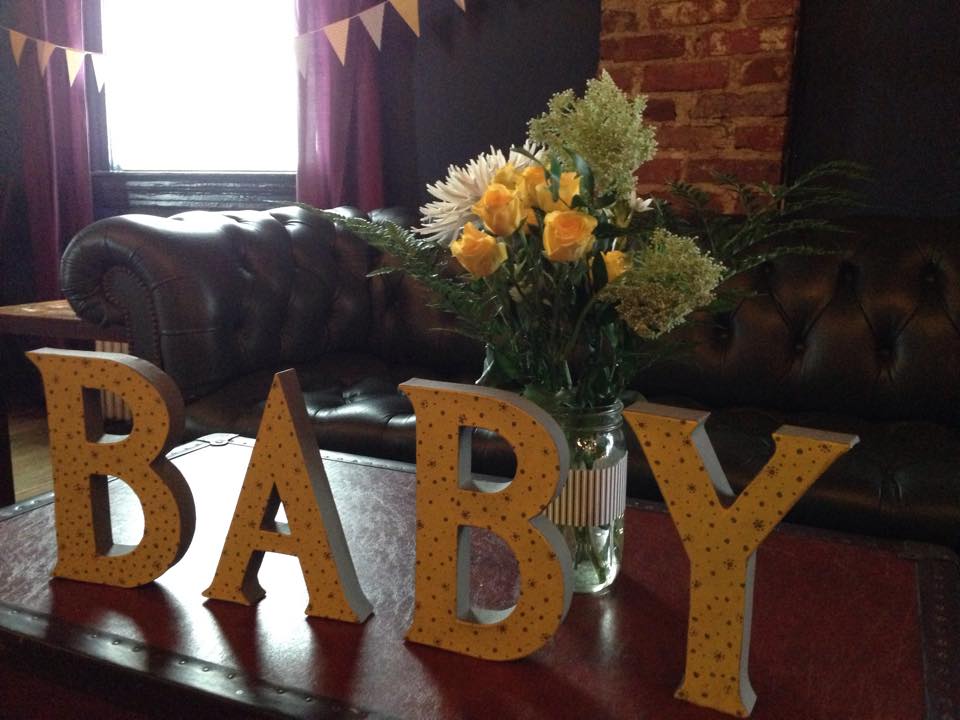
I attended a small event recently that was really lovely. At the event was a beautiful dessert and drinks table that was “styled” by a local event stylist.

I got the creeps.

In today’s age of instagram and twitter and blogs, I had the sneaking suspicion that this styled table was not for the guests’ enjoyment. It was to be viewed through a filter. It was to be enjoyed by those who could not be there. For those who maybe wish they’d been invited.

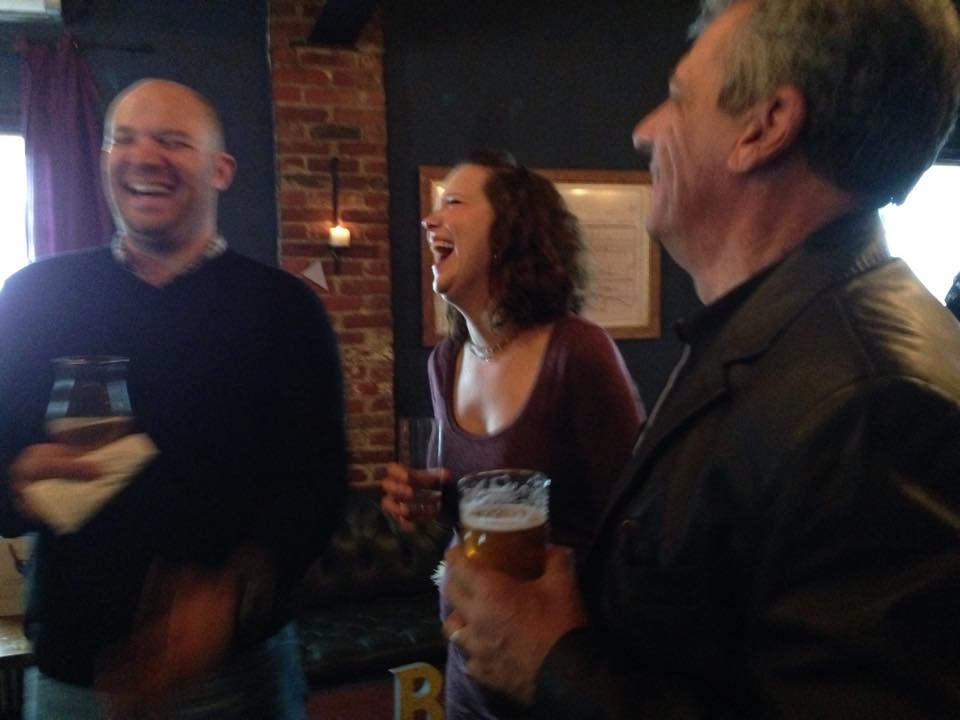
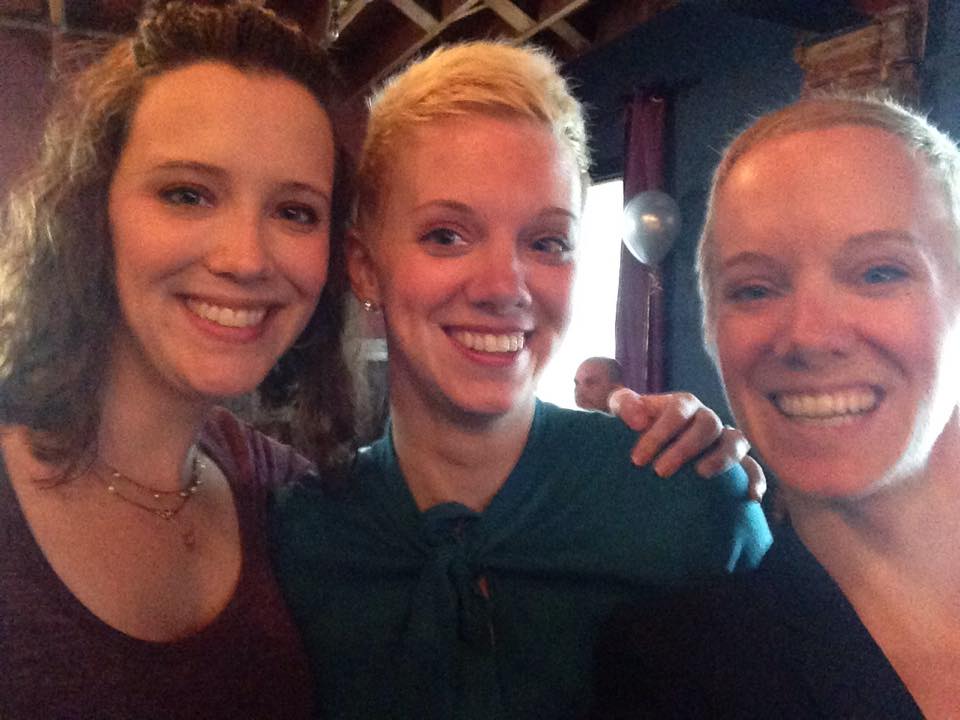
Now, I obviously don’t know this for a fact. And I realize I’m walking a very thin line here. Why does it matter if we make things beautiful for ourselves, for our guests, or for instagram followers? Maybe it doesn’t. But I think trying to stay as genuine as we can, in any celebration, is really important. Our motivation to host should be real. It should come from a grounded place. It should reflect the desire to meet, and celebrate, and interact and socialize - not take photos of a table with our phones. We should be motivated to please our guests, absolutely - but to the point that they feel like an effort was made, and you care - not to the point that they’re afraid to reach for a bite of food.

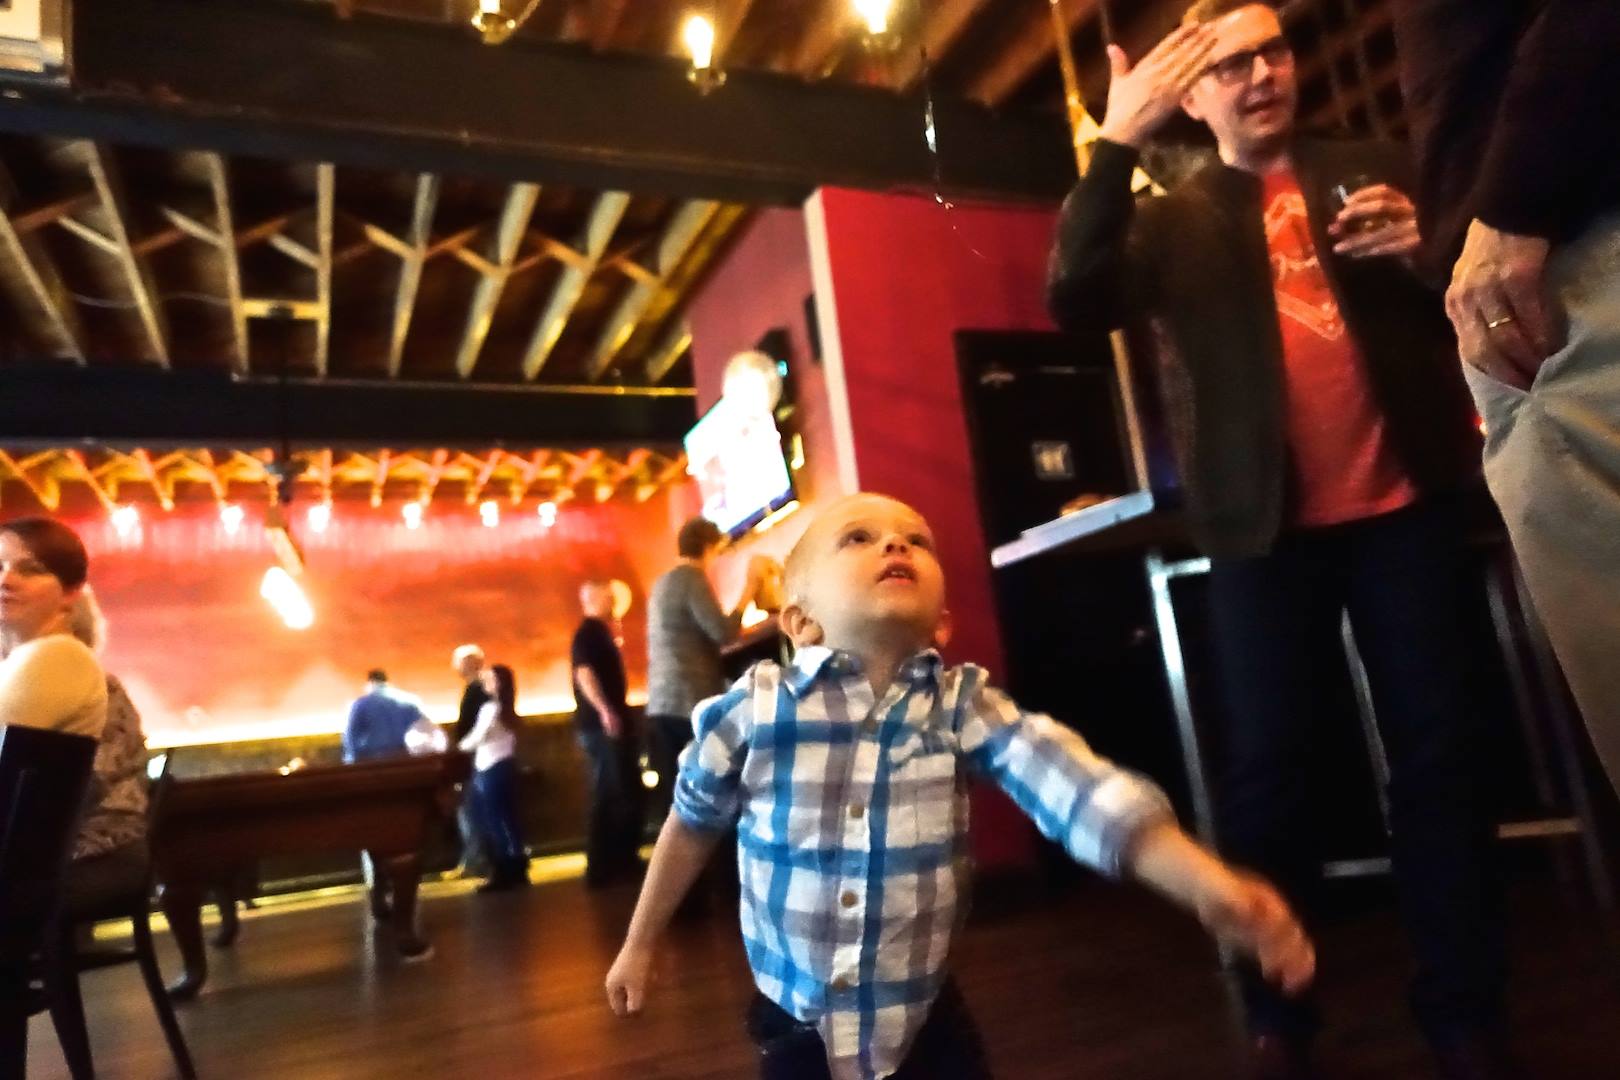
I’ve always had a negative reaction to the word “styled” in the wedding industry, so I realize I’m biased (when I make my dinner table look nice, I don’t tell my guests that I “styled my table” just for them). Styled shoots are not my cup of tea. I prefer real weddings. Real parties. Real people. The fact is, if it’s a good party, shit’s gonna get messy. The cake will be eaten. Crumbs will be dropped. Drinks spilled, and food consumed. I’d really love to see more “after” shots in this industry. The first-looks are great, but some of my favorite photos are of the sweaty couple at the end of the night, hair disheveled, tie undone, dress hem dirty. I realize photos of a picked-over buffet or an empty plate aren’t glamorous. I really do get it. But in our over-styled world, our curated and filtered lenses can blur things sometimes.

So I want to emphasize that if the food is good, if the drink is plenty, and the company is great, people will have a good time. You don’t need a styled dessert buffet if the pie is the bomb. You don’t need an elaborate Thanksgiving centerpiece if you have your loved ones around the table. If you want to spend 2 hours arranging decor for your next event, do it - just make sure you're doing it because it brings you and your guests true pleasure, and not so that you can get 1,000 likes on Instagram. We can’t live our lives and enjoy our celebrations in a “styled” frame of mind. Because life is beautiful and messy.

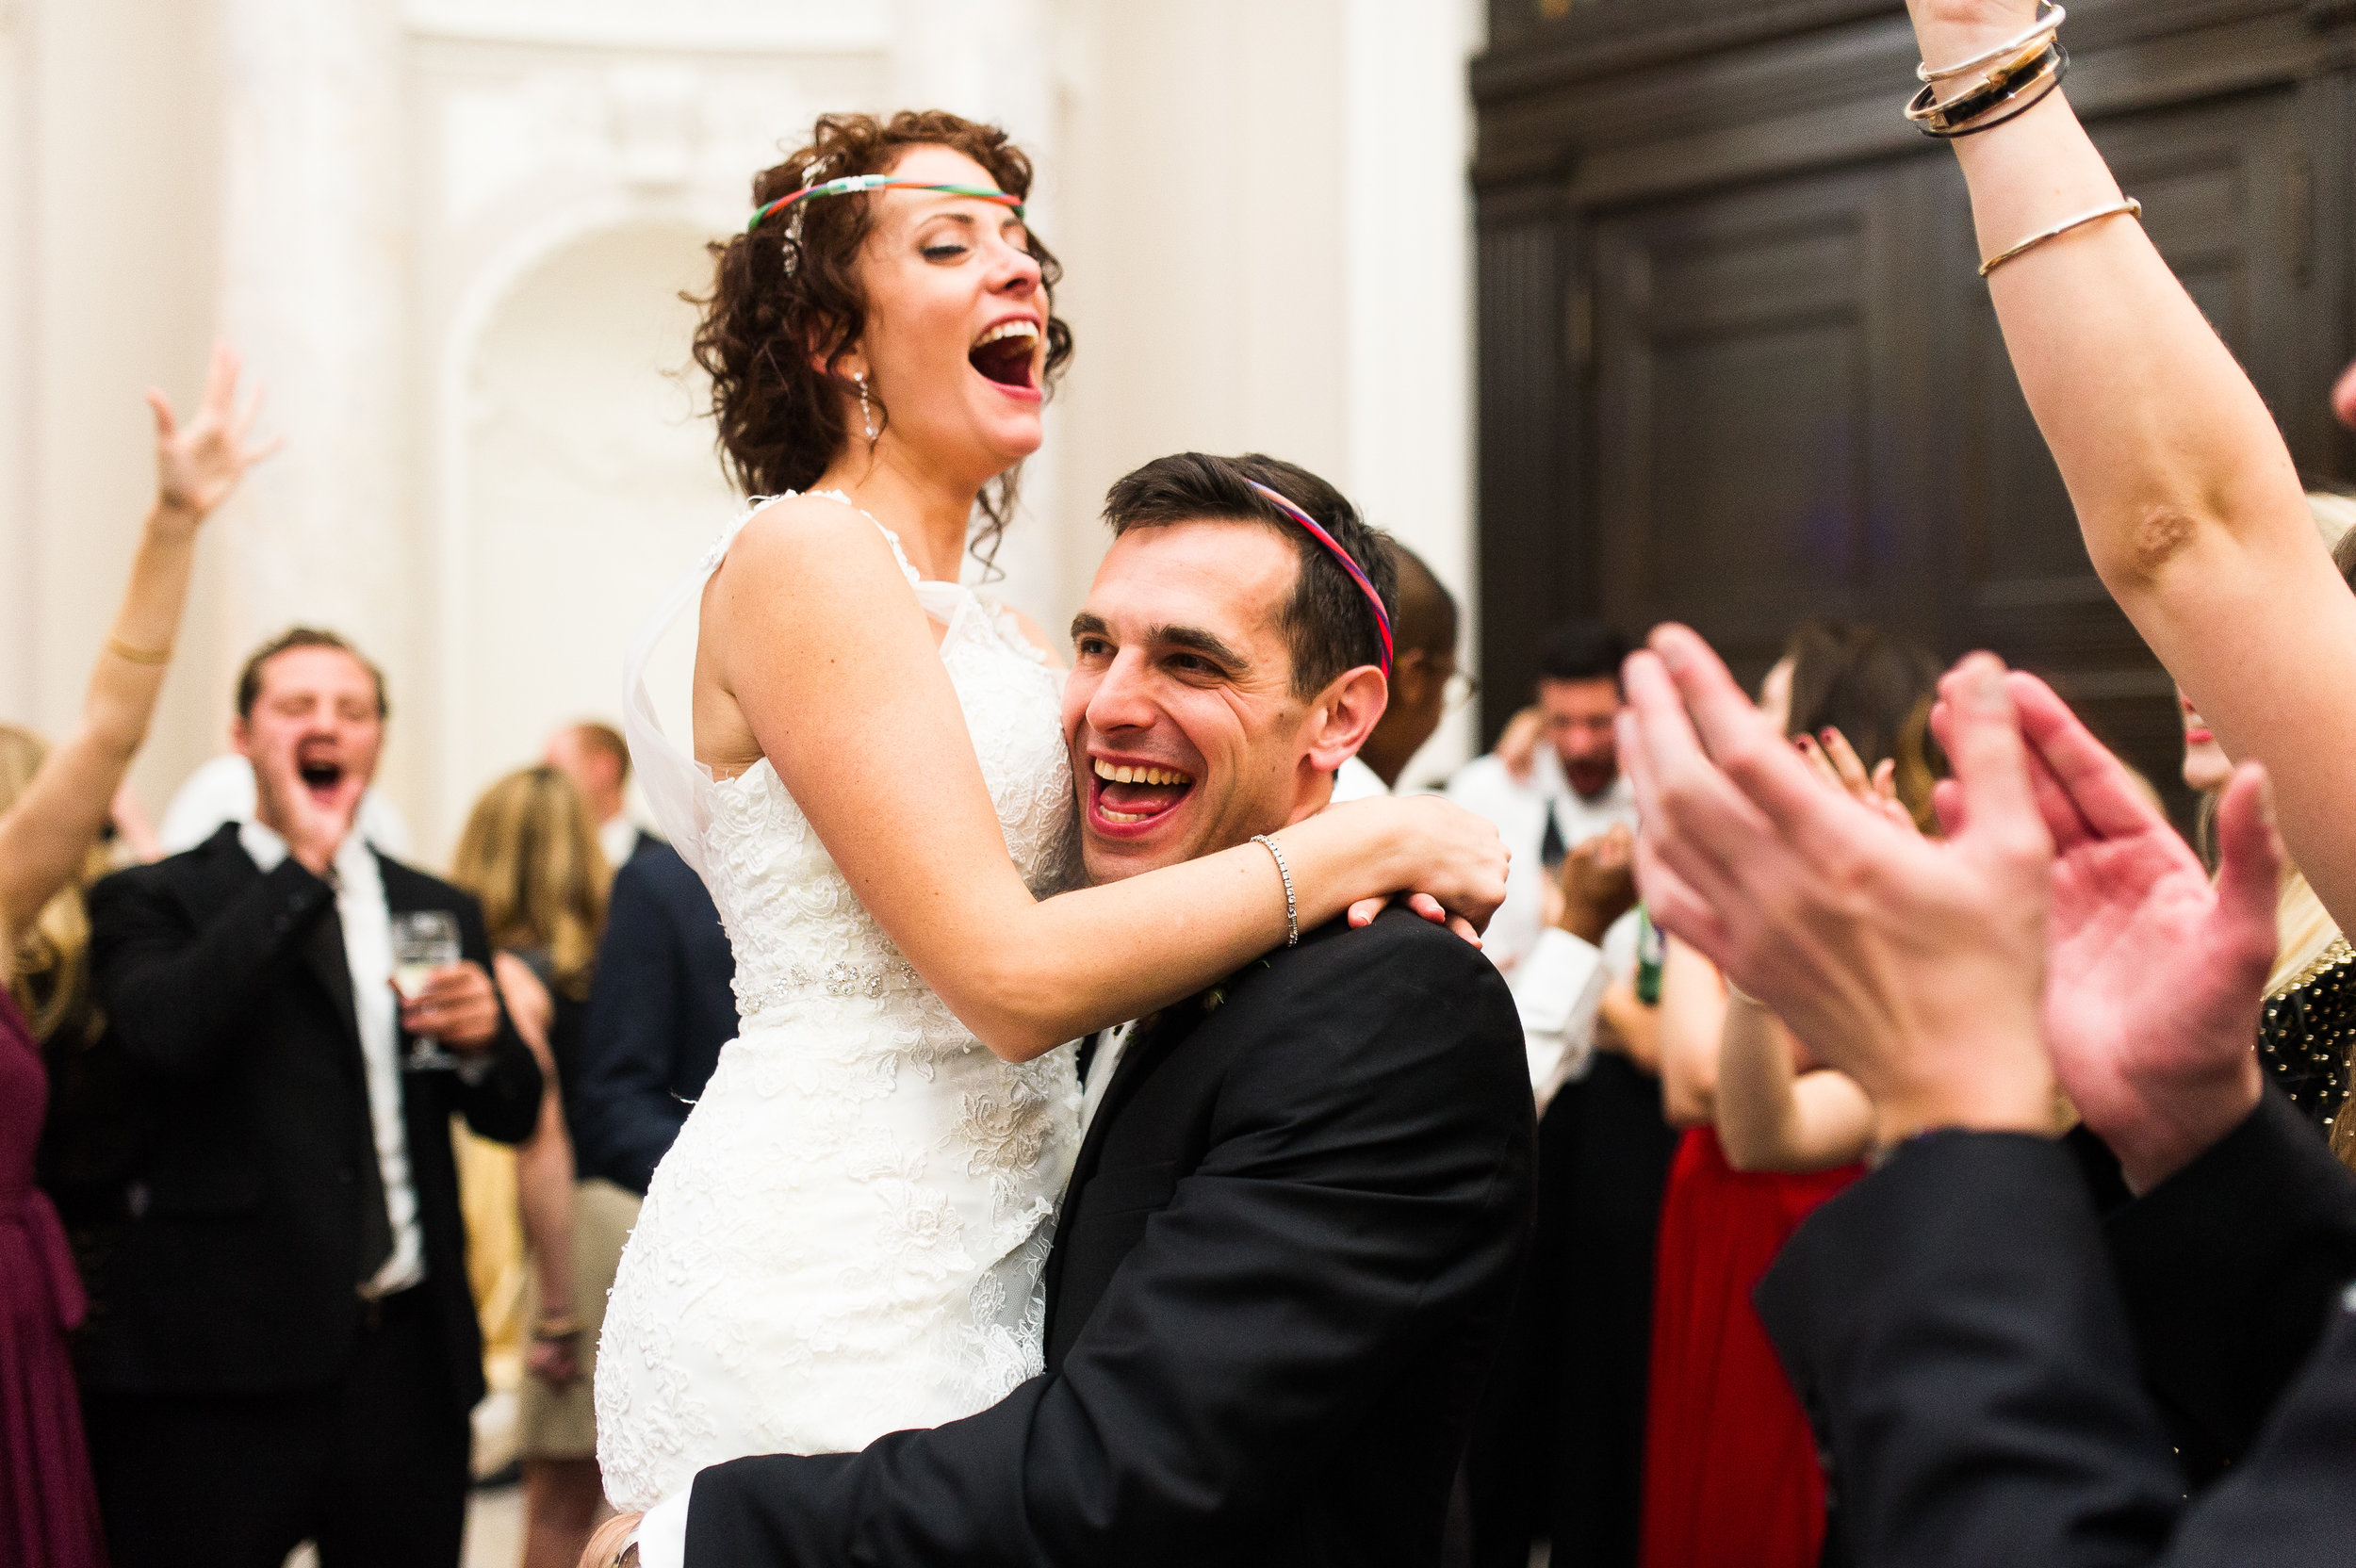
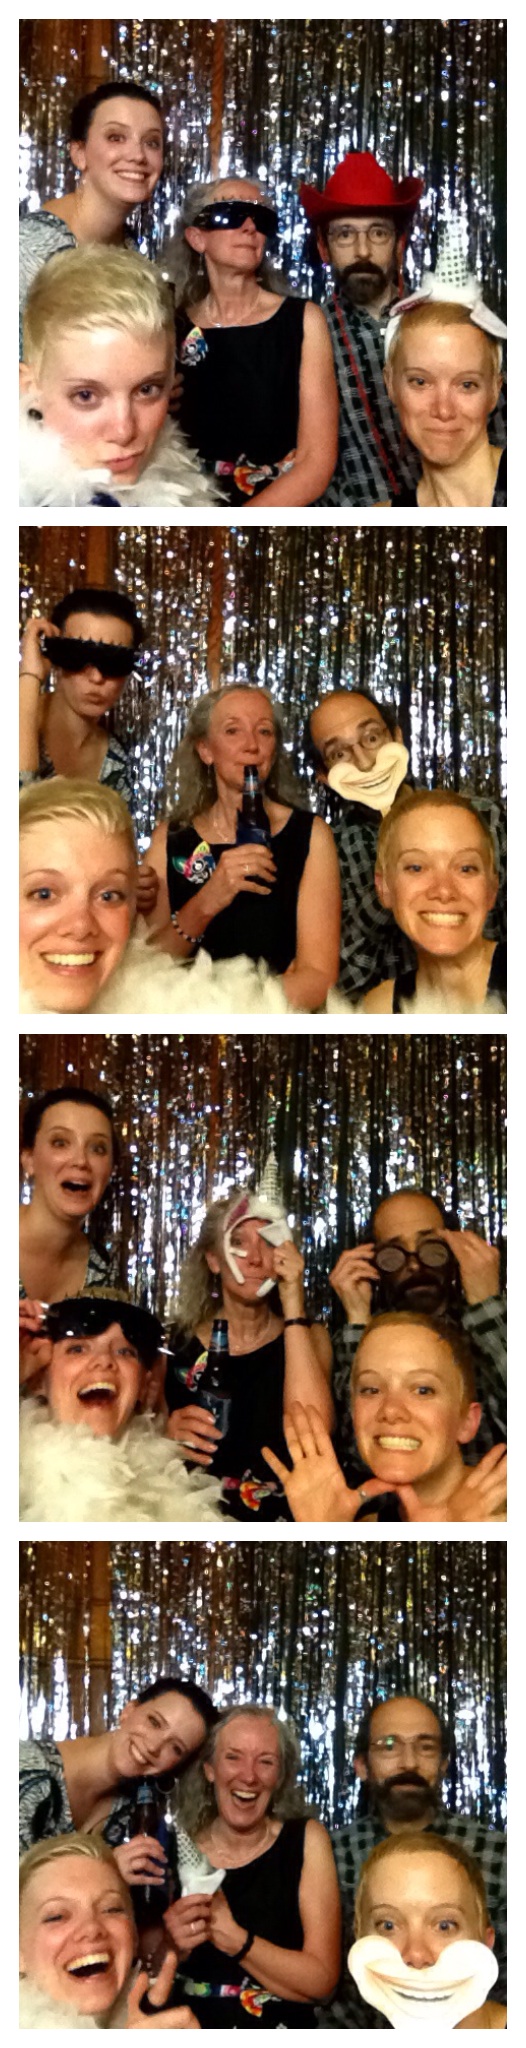
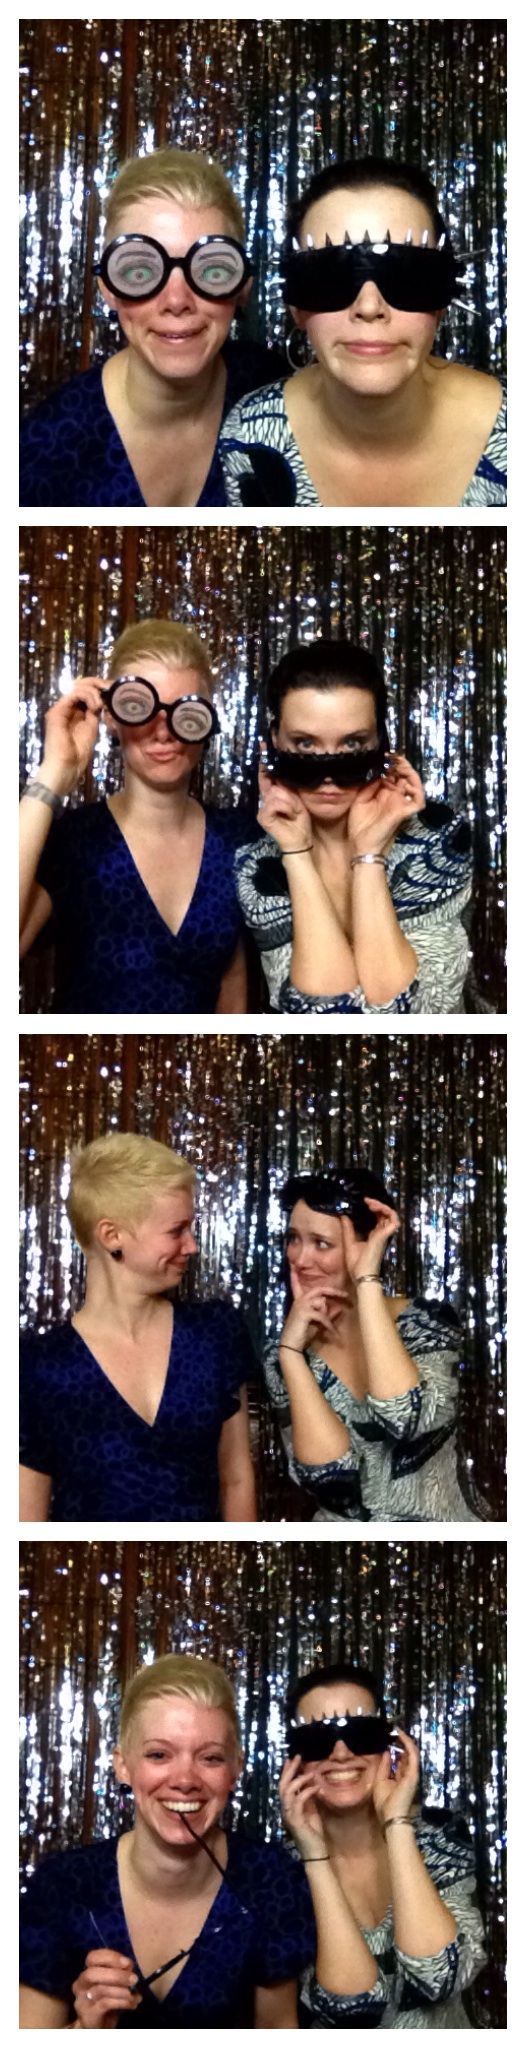
Photo by Shandi Wallace

Our co-ed baby shower

10419429_10152672112119086_6990401396968443375_n Preggo brain has apparently hit - I meant to run this post weeks ago and forgot all about it. So… since we're still waiting for this baby to make its appearance, lets do this! As I mentioned in my Thanksgiving blog post, our family threw us a great co-ed baby shower the Saturday after Thanksgiving. Since my family was in town we thought it was the best time to get everyone together and celebrate.

What was so freaking lovely about it was that I didn't plan it! I can't tell you how refreshing it was to attend a party and not have any idea what to expect, how it all got done, and just sit back and enjoy. And enjoy I did!

It was held in Evening Star's private room - a space I highly recommend if you're looking for a local place to have a party. It was the perfect size, with a built-in bar and lots of furniture for people to sit but still space to mingle. Plus, the food was fantastic. We had deviled eggs, mini-tacos, and my favorite of favorites, their fried chicken sliders on sweet potato biscuits with gravy. HEAVEN. Oh, and cupcakes from Buzz Bakery. YESSSSS. It was perfect. I insisted on no games (are you surprised?) but the room had a pool table and table shuffleboard, not to mention the football game on the tv, so I think everyone was happy!

Though we're not going overboard with our "colors" for the baby, our general theme is gray and yellow and my family jumped on that, with some yellow and silver balloons throughout the room, adorable hand-made bunting (which I'm totally going to reuse in the baby's room), yellow and white flowers, and a hand-made "Baby" sign (which, again, so reusing in the nursery).

It was an awesome, easy afternoon, seeing family and friends and enjoying everyone's company.

I'm a big supporter of co-ed showers. My husband is just as involved in this baby as I am (except for that whole she's in my uterus thing), not to mention the other men in our lives (fathers, uncles, cousins, etc). I thought it was great to have everyone there to celebrate, rather than just focus on the ladies. It takes a village - not just to raise a baby, but to celebrate a baby, too! Thanks again to our whole family and all our friends. It was such an awesome afternoon!

10418503_10152672111834086_3863859804729619221_n

1502773_10152375649725666_5504457126789814864_o

11348_10152672110984086_8558937419397630363_n

10689485_10152672110404086_1716055094631323972_n

1402925_10152375654855666_4086132810646555365_o

DIY Ipad Photobooth

Per my blog post last week, I recently helped throw my mother's 60th birthday party. We were definitely on a bit of a budget, so we decided to try and DIY a photo booth - and I was pretty happy with the results. I thought I'd share how we did it for any of you wanted to roll up your sleeves and take on this project - the results were great and we were thrilled with how much fun it added to the party. I already owned an iPad, so we decided to not worry ourselves too much about super-high res images, and instead focused on the fun and ease of doing an iPad photo booth. My stepfather also already owned a tripod, so I bought a fairly simple (and cheap) iPad tripod attachment and voila! Our photo booth was already halfway there.

My sister did the hard part. We knew the venue would be dark, and the iPad doesn't have a flash, so rather than rent lights - she DIYed them. We used this video tutorial and they came out really well. My sister made some adjustments from the DIY tutorial. Since people were actually going to SEE these lights, she wanted to make them look a bit nicer. She took a little more time to cut the cardboard to the shape of the lampshade, to tape it with clear tape, to use white Velcro on a white lampshade with white fabric.....to make it look a little more presentable.  All in all, each one took her no longer than 30 minutes or so to make. So with an hour's work, we'd saved a lot of money (my sister is the best).

For the backdrop, the venue had a really ugly sign up that we wanted to cover anyway. So I bought some silver fringe curtains from Oriental Trading company and we wrapped it in the corner of the room - thus covering some of the ugliness while also creating a simple but very festive backdrop for the booth. Because the venue was an old train station, it already had built-in benches wrapping around the room, so we also used that and didn't need to worry about stools or other seating. I thought it turned out really well!

We pooled our own Halloween costumes and created our own bucket of props including oversized sunglasses, a feather boa, some hats and funny sunglasses. It was rad.

We used the Insta Booth app. You could pick how many photos were in each "strip" as well as the length of the timer between shots. You can also apply different filters (which we opted not to do) but they had a ton to choose from. The photos aren't super-high res.  If you care about that, then this option probably isn't for you. But overall I found this to be a great, very cost-effective solution. With the iPad tripod attachment, the curtains and the light box materials, we ended up spending around $100 - much less than a $1,000 professional photo booth. And if you do it for a day-time party, or in a well-lit room, the light boxes shouldn't be needed.

The pictures were, in my opinion, pretty hilarious and awesome! Enjoy!

Topaz + Arrow // DC DIY workshop

topazandarrow diy workshops Last week I attended one of Topaz + Arrow's DIY workshops in DC. Topaz + Arrow is a monthly, DIY workshop series that "infuses the handmade into a curated and creative lifestyle." It was awesome. The workshops are held at the Ulysses Room, a modern yet warm space. We were treated to some delicious snacks and drinks from Honest Tea, Boulevard Brewing Company, Creme Yvette, Teeny Pies and KIND Snacks.

This workshop was called "Leather, Branches and Hooks: Handmade Jewelry Organizers with Topaz + Arrow"

It was a great afternoon. The workshops aren't heavily structured so the hosts, Virginia Arrisueno and Morgan Hungerford West, really want you to explore your creativity and make each project your own. They quickly talked through the basics and then let us at it (though they did walk around the room offering suggestions and also did a lot of the heavy labor, like copper pipe cutting and branch sawing).

I loved the branch I ended up with, and deliberately picked one with some character (some knots and holes, etc). I kept it simple, deciding to pick a nice blueish gray leather and subtlety painting the branch with copper accents (which matched the copper pipe accent on the leather).

topaz and arrow diy workshop

topaz and arrow diy workshop

Topaz and Arrow diy workshop

Topaz and Arrow DIY workshop

The cost included all of the materials and the lovely refreshments. I felt like it was totally worth it and was a great afternoon for anyone to either spend on their own, or with a group of friends.

Definitely check out some of their upcoming workshops, which include Paper Lanterns & Cherry Blossoms: DIY Lighting and Decor, as well as Hoops, Yarn and Feathers: Handmade Dreamcatchers.

It could give some couples great ideas for wedding or event decor, and would also be a great shower or bachelor/bachelorette hang!

p.s. Virginia is a fantastic artist - founder of DeNada, an accessories line, and Morgan writes a fab lifestyle blog, Panda Head. Check them out.